Diecast CHP Explorer Lighting
Being a fan of the lighting patterns the California Highway Patrol uses on their patrol vehicles, I wanted to create some sort of system to emulate them. I thought it would be cool to have a diecast 1/18th scale vehicle with perfectly replicated patterns. In 2017, I started an ongoing CHP project, making all sorts of different electronic devices.
Originally, I hoped to create a 1/18th scale light-up Explorer. There’s a popular community of people who make scale police car replicas, but typically the LED’s used are steady or randomly flashing. My idea was to put an Arduino Nano and a MAX7219 LED driver inside of one of these cars. With some prototyping, I got a simple system working. Armed with the knowledge needed to move forward, I started designing one of my first PCB’s.
I downloaded Fritzing, and got started. I created a schematic of my system and got started with the PCB. I used an Arduino Nano footprint, a MAX7219, an SMD resistor, and a bunch of headers. I tried to organize the output headers in such a way to make connecting the LED’s easy.
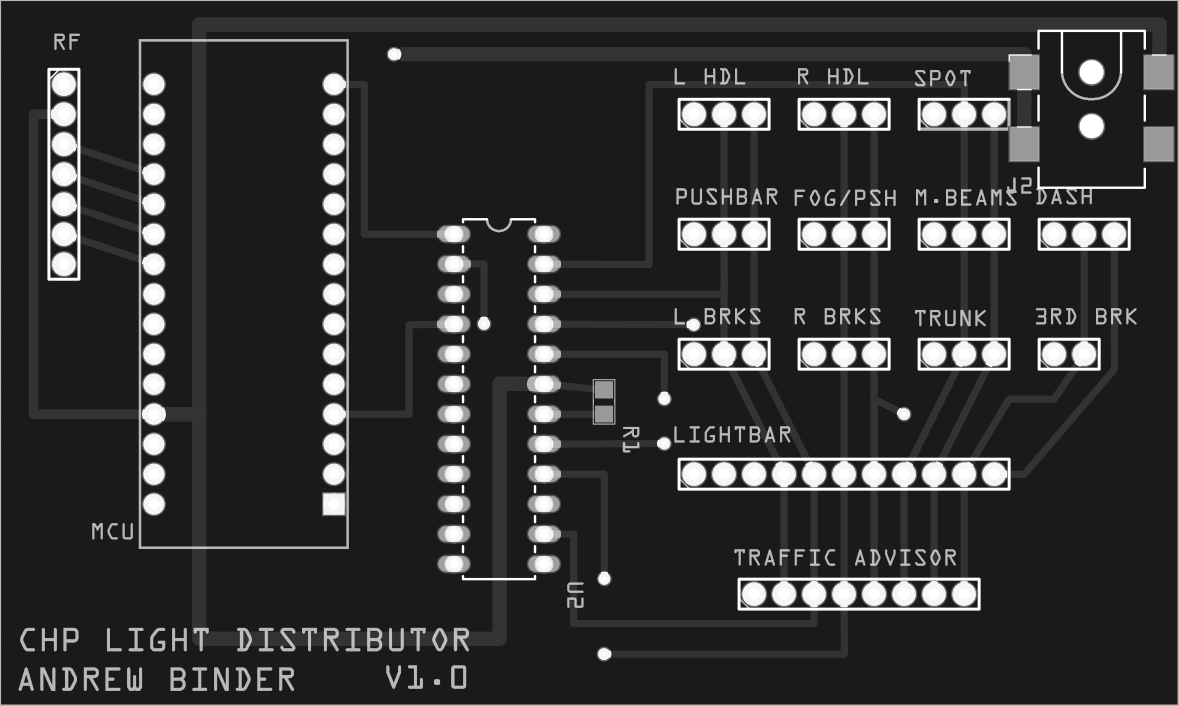
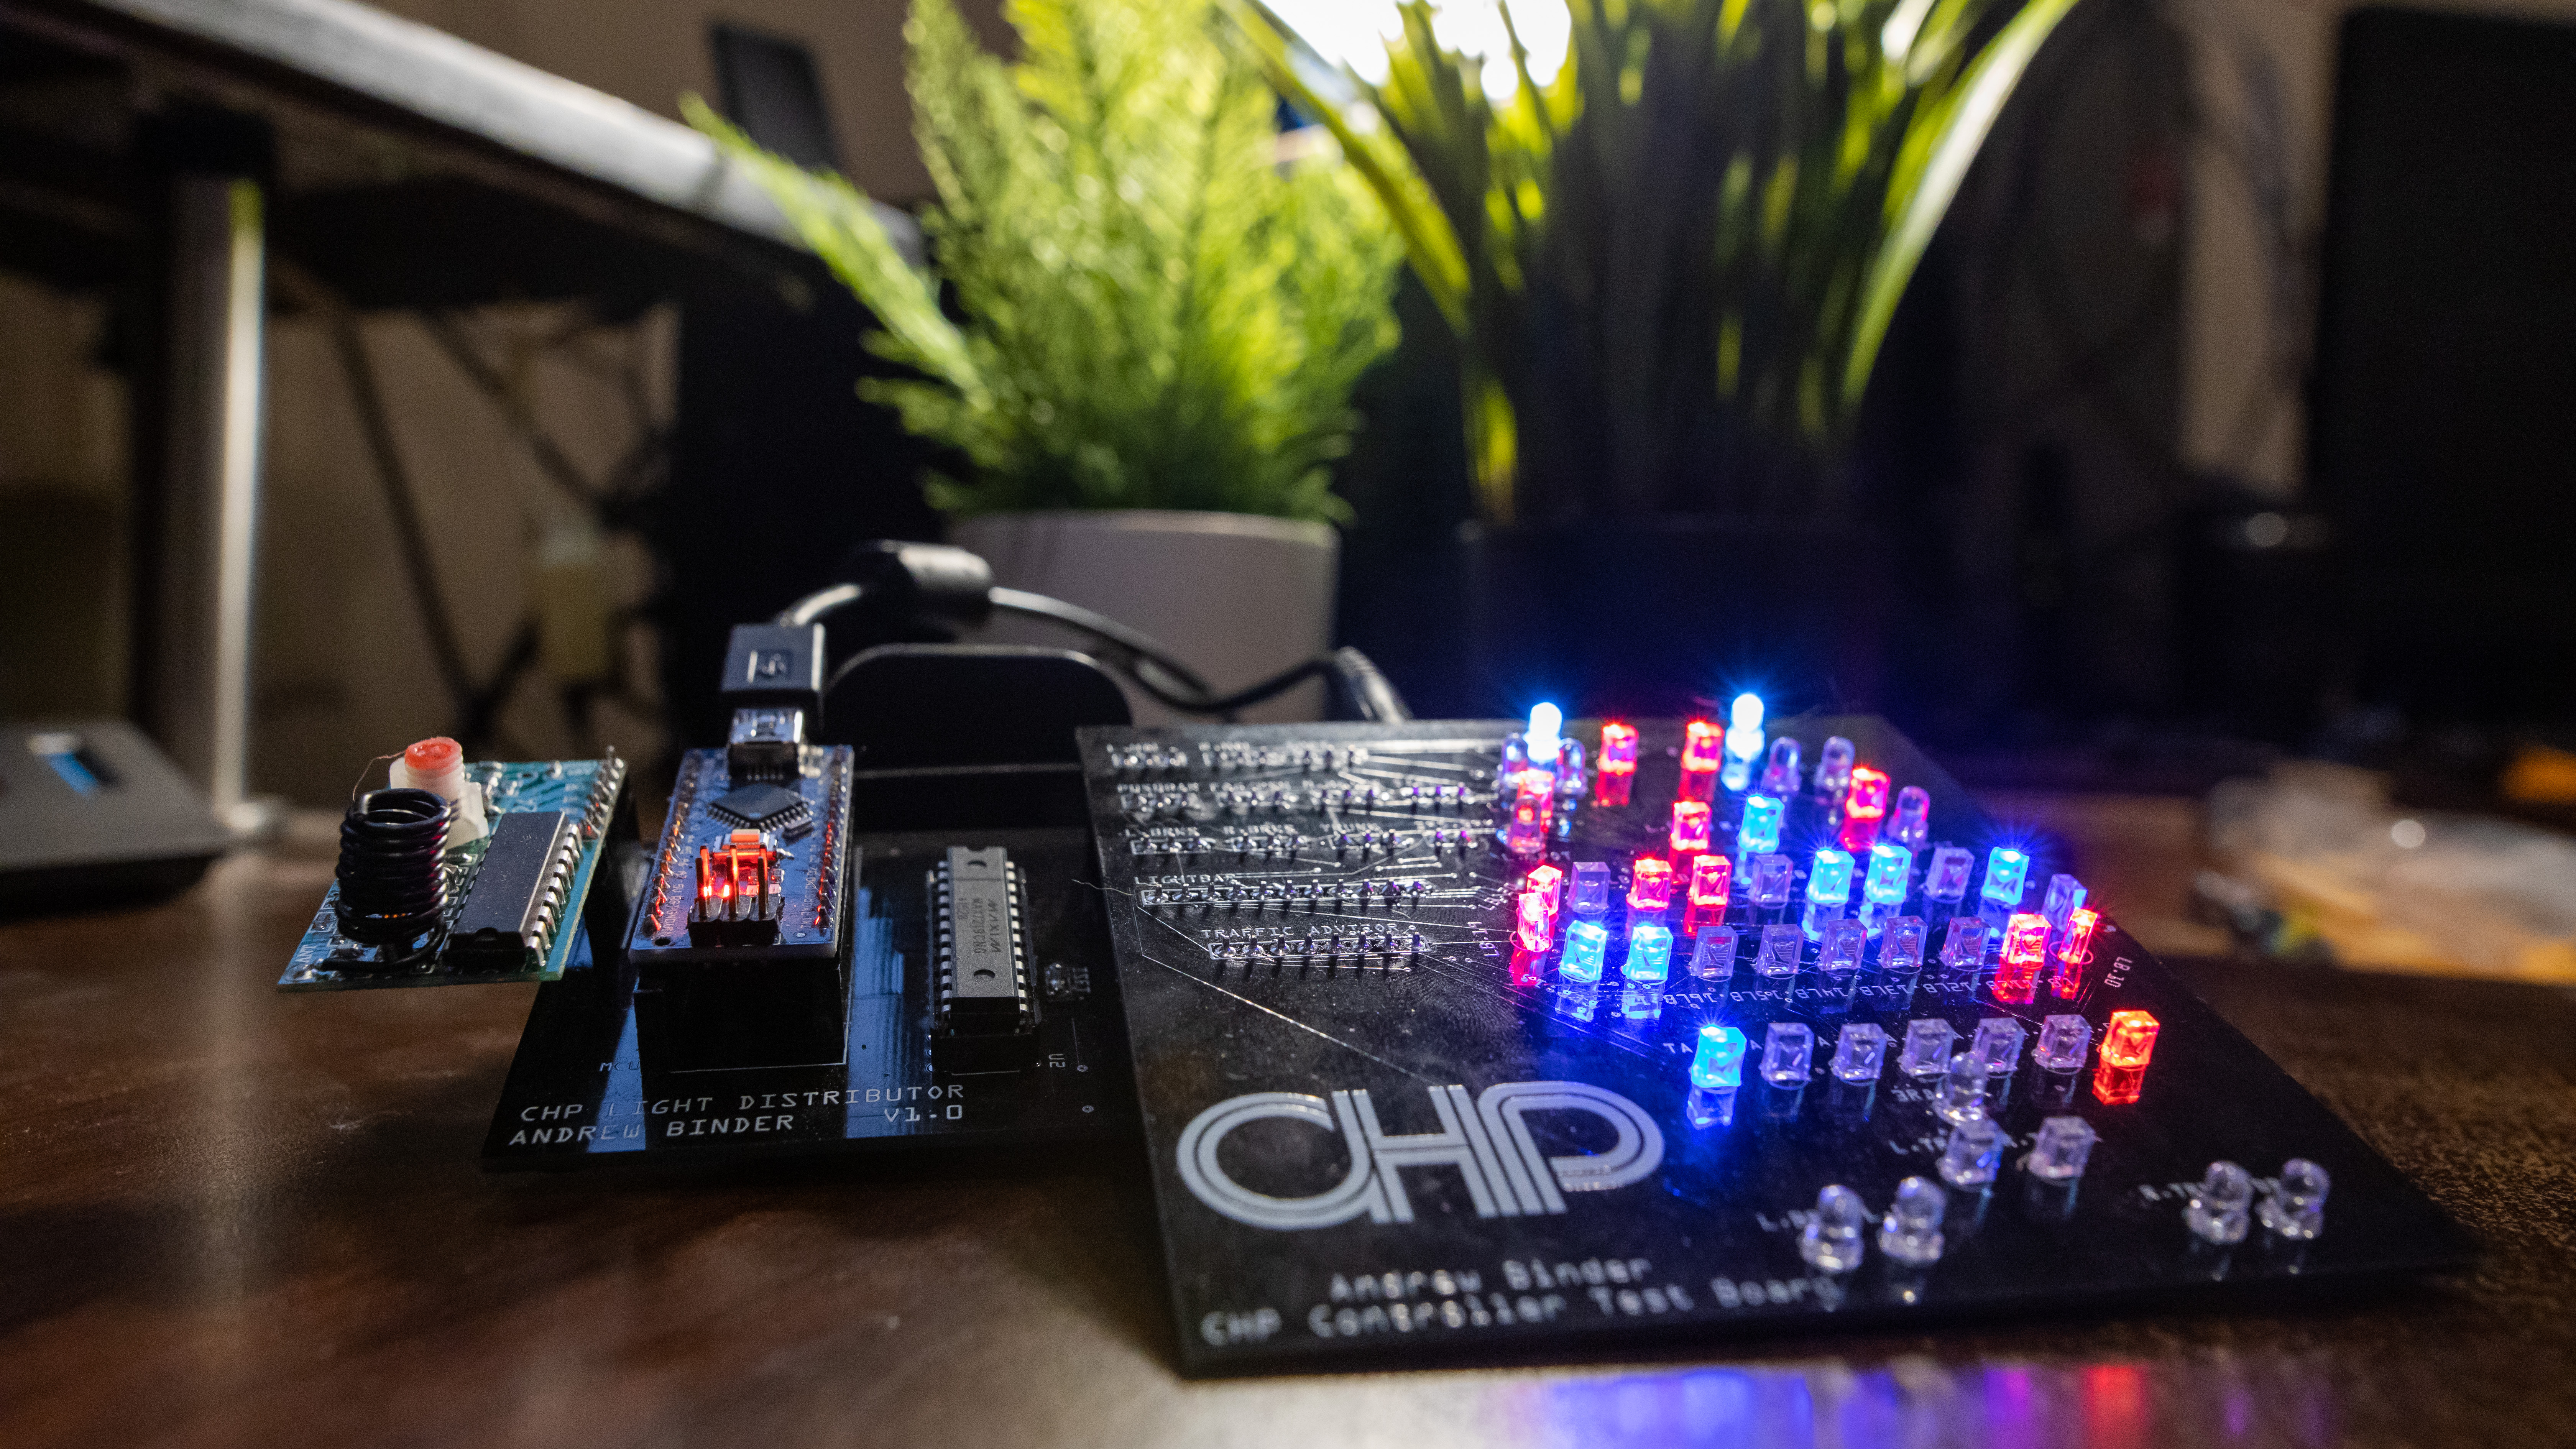
I ordered 10 pieces from Seeed Studio’s Fusion service, with a small “breakout” board for a 7-LED traffic advisor. Electronically, the PCB worked fantastic. I started using it on a black diecast Explorer I bought. I got the front facing LED’s installed, but never really embedded the system to be self contained. Everything was connected to my PCB with magnet wire coming out through the wheel well.
The video below shows as far as I made it with this diecast car project. The timing on the Arduino controlling the lights is a little fast in this video, but it shows all of the features I implemented.
Overall, this was a fun project and I learned a lot. Even though I gave up on the car, I ended up using some of the hardware I made for some other related projects.