Battle of the Bands

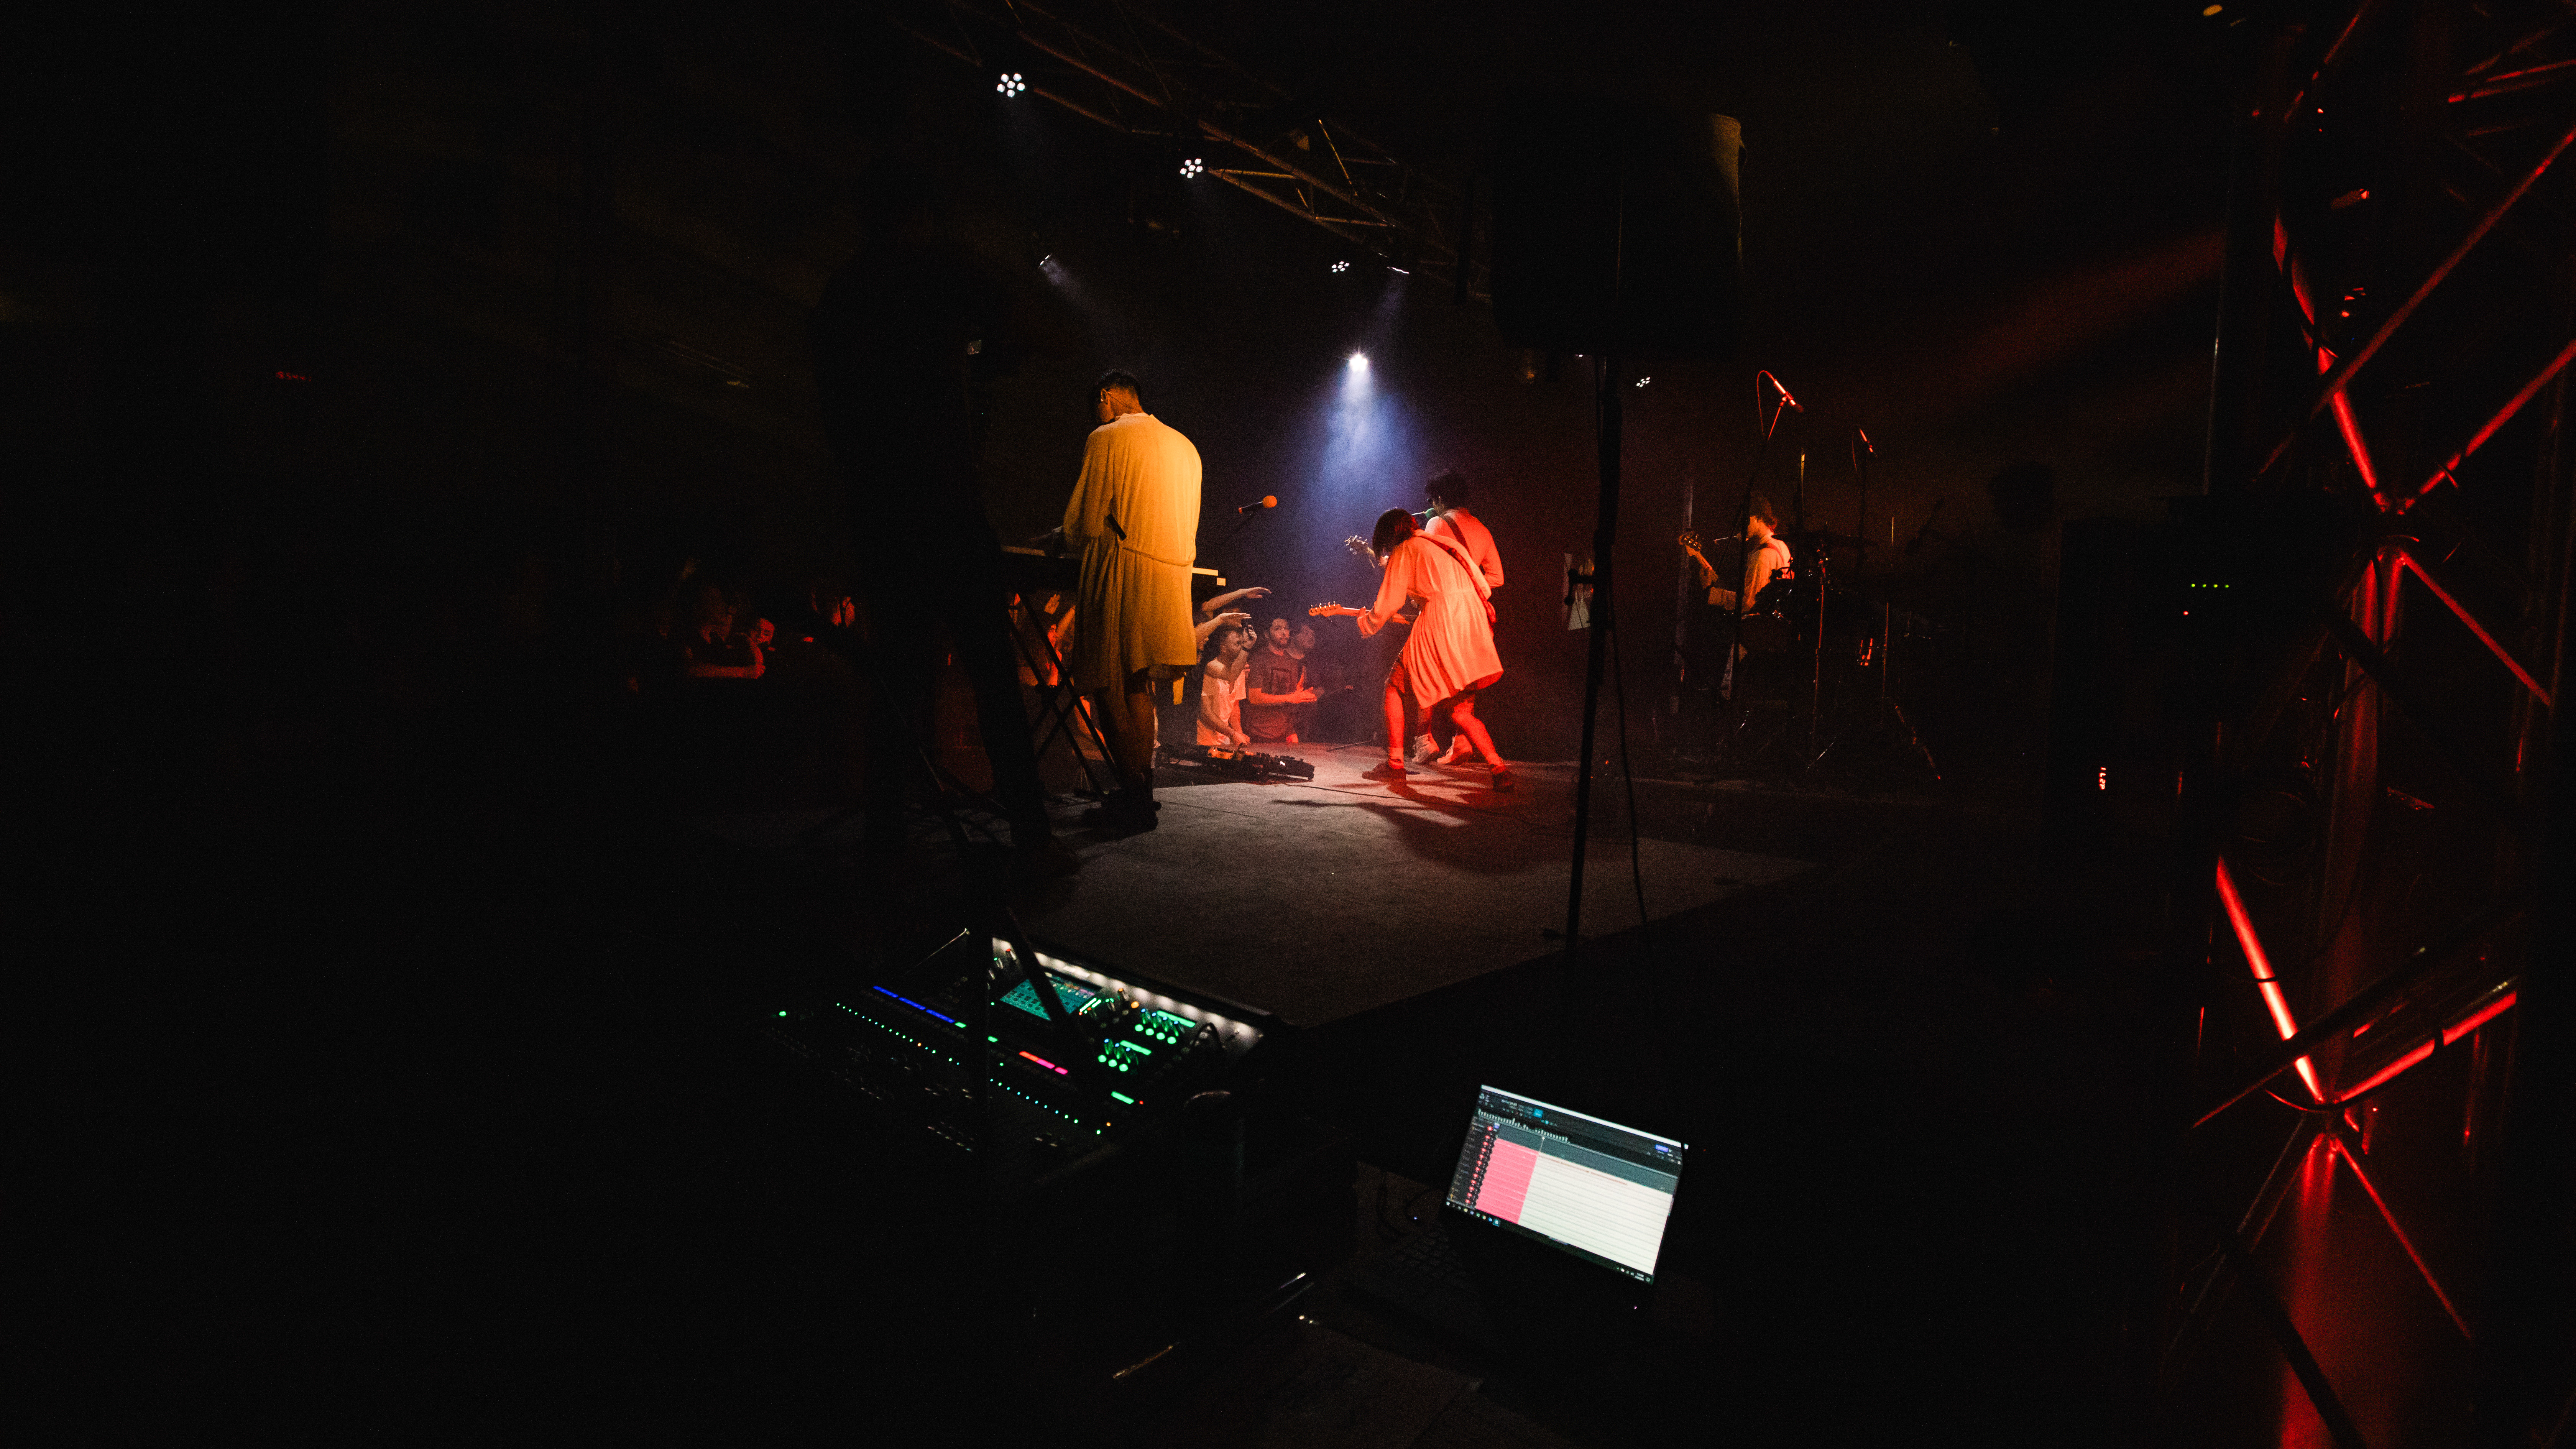
Each year, the Associated Students of Walla Walla University (ASWWU) puts on an event called Battle of the Bands. A group of student-led bands perform on stage and battle against each other, as one of the largest campus events of the year. Many hours of work are put into this event, by musicians, sound technicians, and event planners. Here, some of the behind the scenes efforts put on by the sound team to make this event happen will be discussed.
Preperation
As with any event, I believe preperation is one of the most important. As the senior sound technician running front of house, I needed a way to make sure all crew members were on the same page. After auditions were completed and bands were chosen, I created a technical guide with specific information for all crew members. It consisted of a master patchlist, individual patchlists for each band, band members/order, and signal paths. This guide was printed out and given to all crew members. In past years, this information wasn’t as readily accessible or in a state of change, and I wanted it to be a little more concrete. This guide can be seen here.
Front of House
Front of house was run by a “salvage” Yamaha M7CL. This board was replaced by a Yamaha CL5 at the University Church, after it began randomly freezing during events. Some of the other techs thought it was caused by the internal word clock, but I’m not convinced there was any way to prove this. I don’t think it happened often enough to test. An external word clock was used, and the board ran great. As a contingency, we used a MixWizard 16:2 between the M7CL and the amps, just in case we did lose control of the M7CL, this gave a way to mute audio or play canned music while the board got restarted.
Matrices were set up for the different sets of speakers. These consisted of a main LR send, a mono sub send, and a send for the seperate DJ stage. We opted for a second “sub-stage” for the DJ, as opposed to previous years sharing the same stage as the bands. The people at the gym had doubled their stock of stage pieces, which allowed us to set up a larger stage and the smaller DJ stage. We chose to add an additional set of speakers and subwoofers at the DJ stage, to help fill out the immediate area. These were only turned on during DJ sets between bands, as the stage was being set up for the next band.
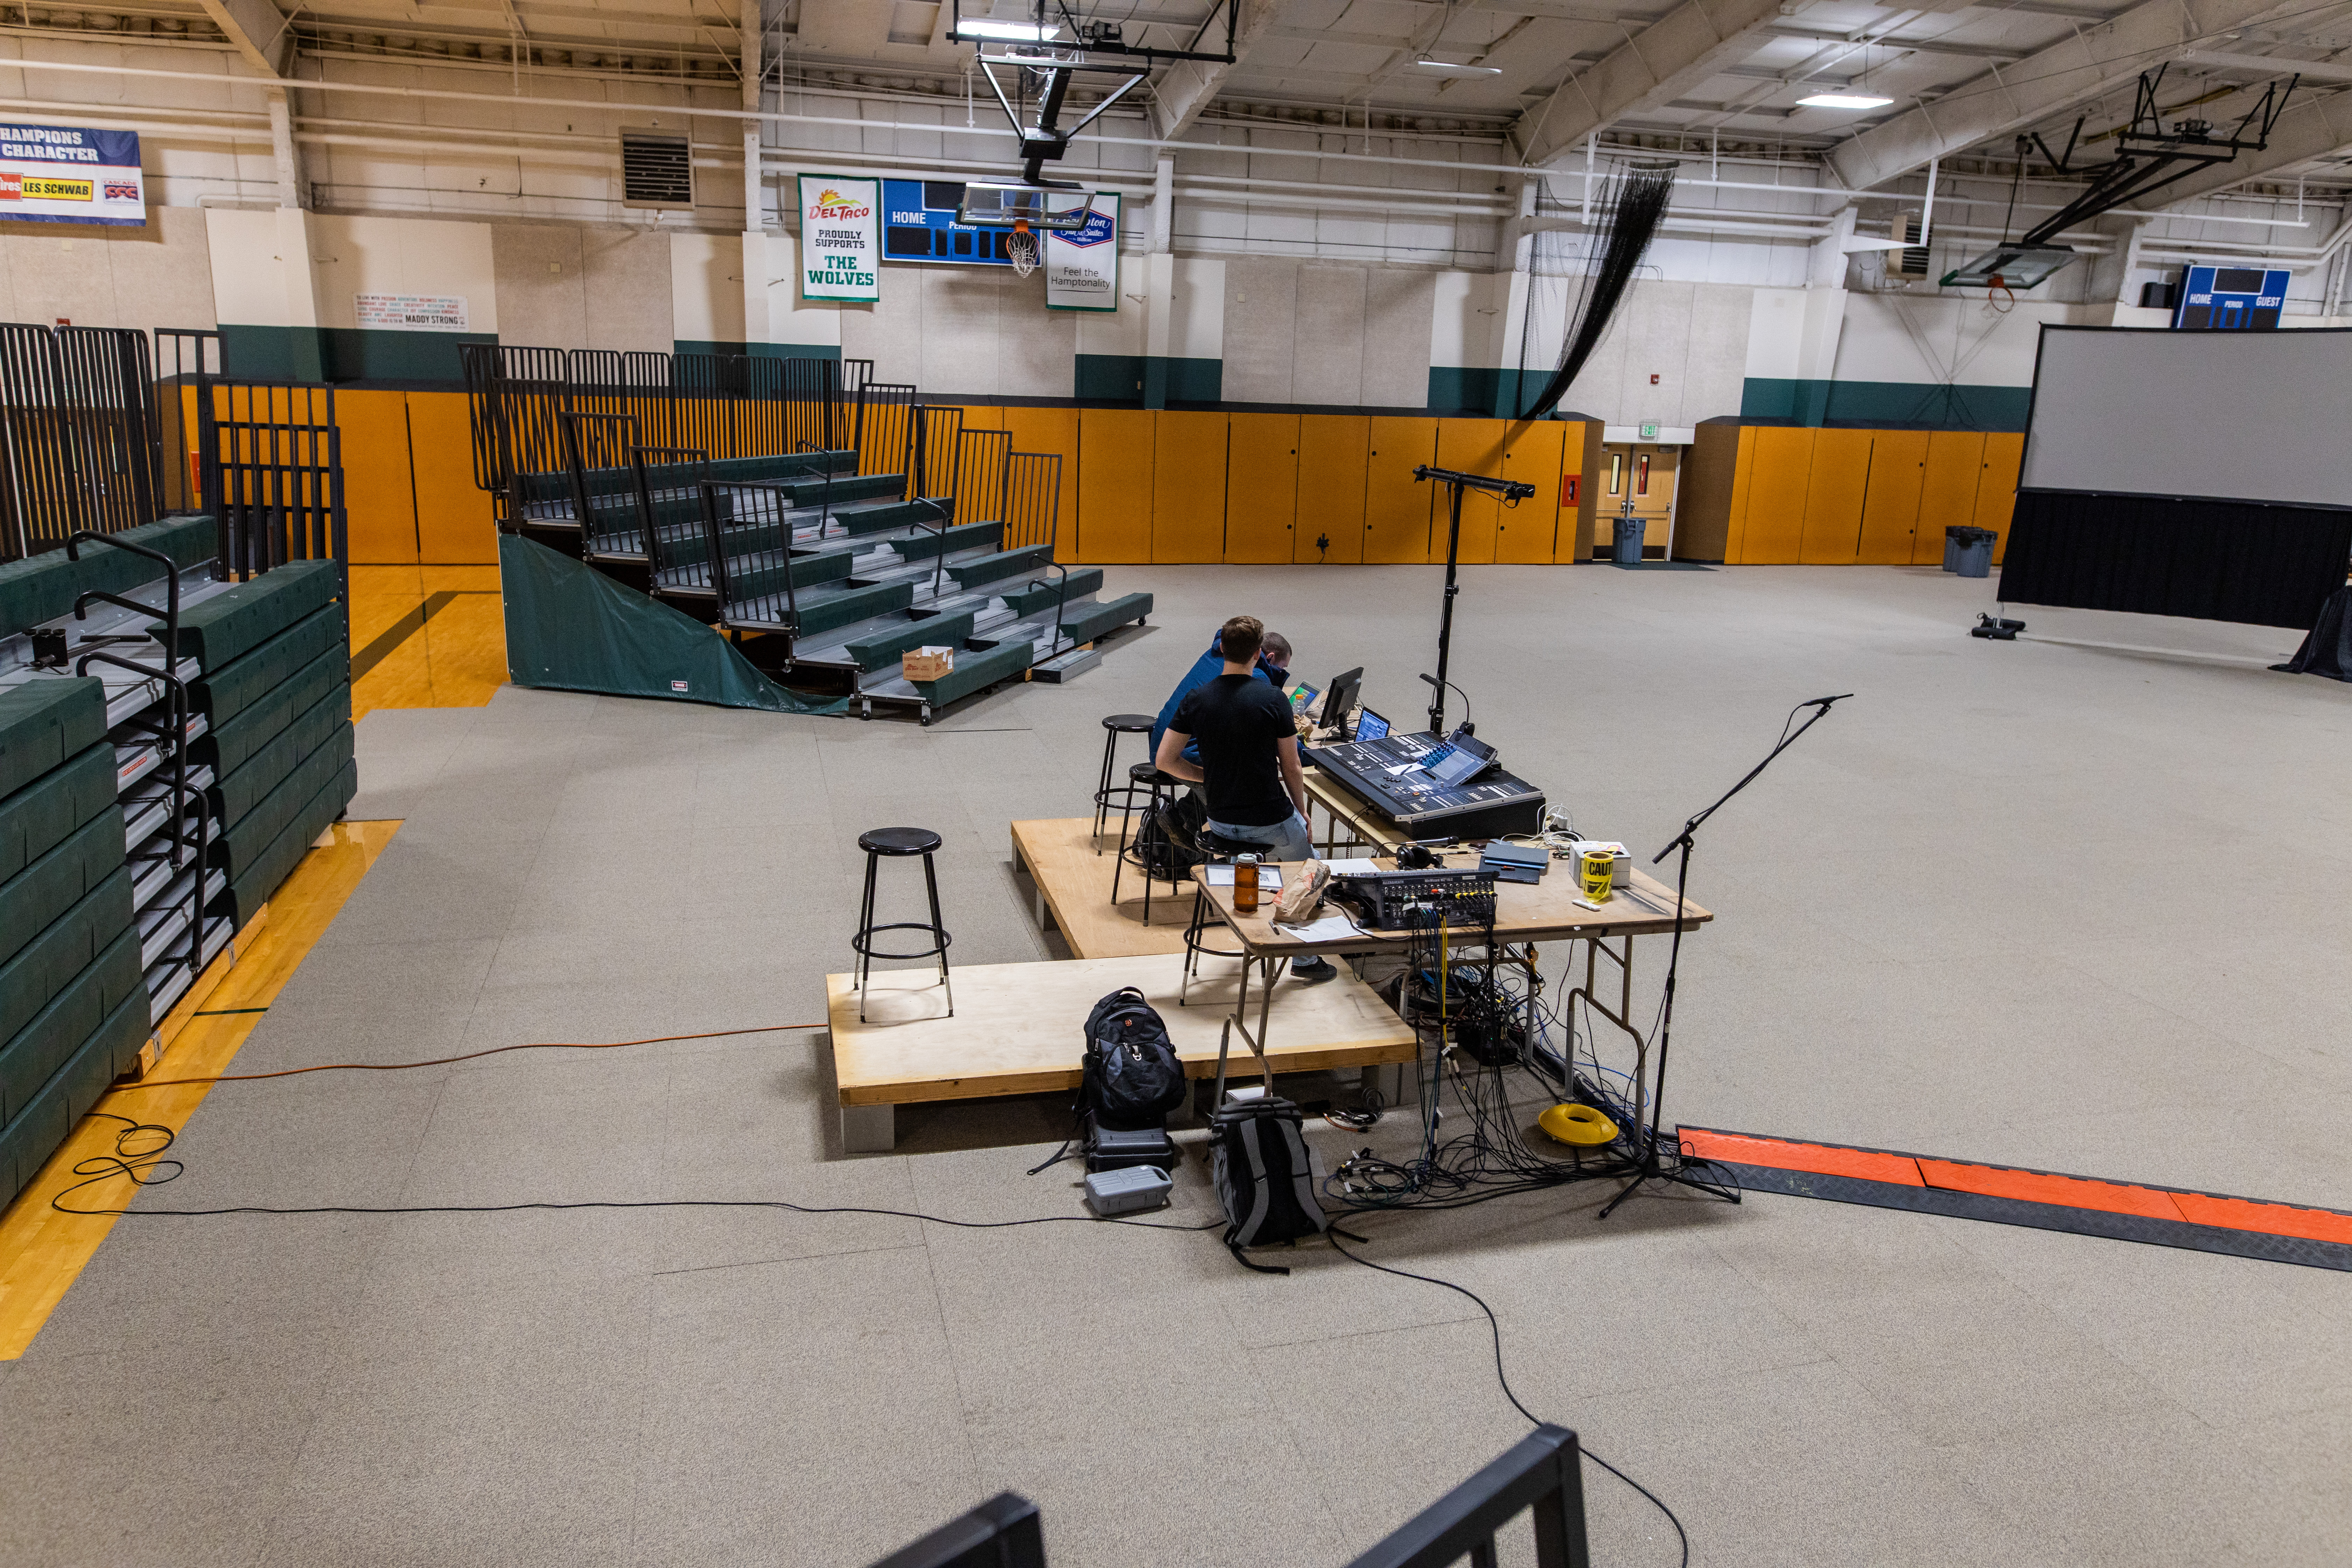
Physically, FOH was slightly elevated using some “table extensions” (some pipe with a screw on the legs), and some plywood sheets on some cinder blocks. Last year, FOH was not elevated above the floor, and I think the effort figuring this out this year was worth it. Left of the console we had a laptop for monitoring the amps. To the right of the console, I had my laptop running a demo of SMAART v8, and an iPad to play Spotify. Finally, we had the auxiliary MixWizard.
My one complaint about the M7CL was the iPad support. The app was not responsive at all, and it’s very possible this was due to a poor wi-fi connection, but it was just unusable. Especially comparing it with the iPad support for the CL5, I ended up using it to set a few levels during sound check and that was that.
Speakers
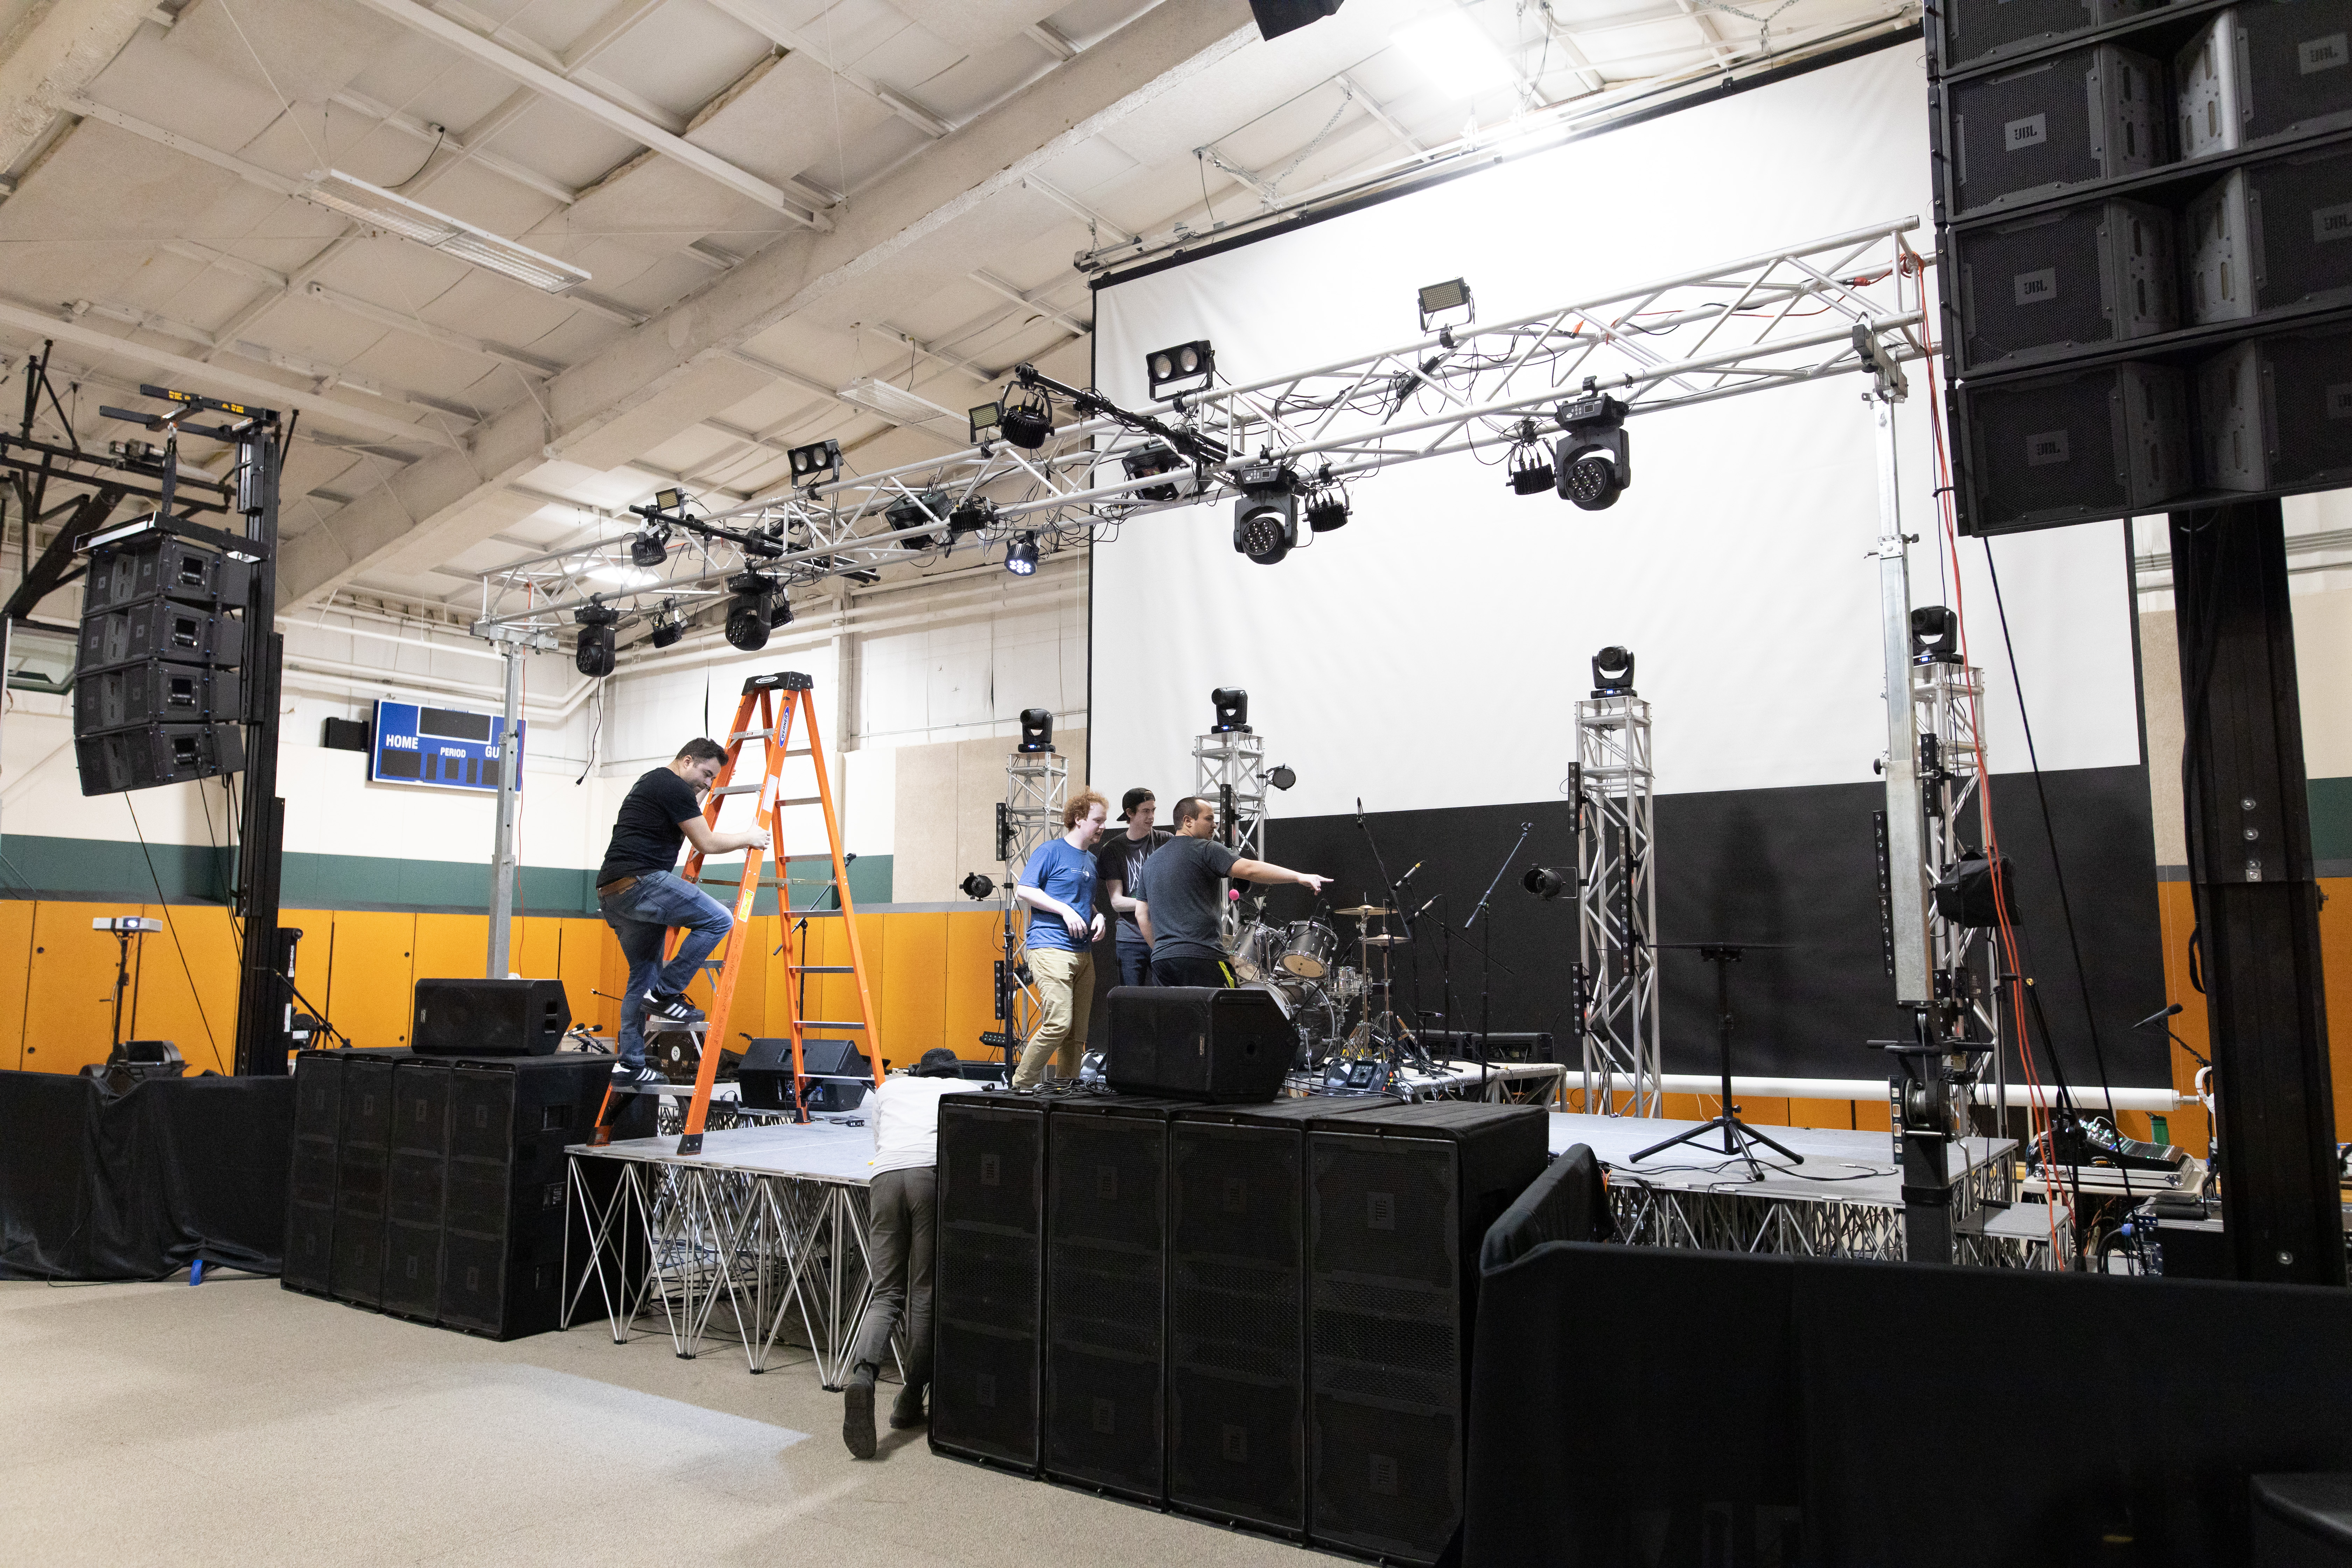
Most of the speakers, amps, and trussing were hired in. Campus Sound has a great relationship with a local rental company, who gives us a great deal on these systems.
This year, we got 8 JBL VerTec VT4887A mains and 8 JBL VerTec VT4880 subwoofers. Our rental contact was planning on bringing the VT4880’s, but we had requested a VRX system due to budgetary concerns. We were all very surprised when we helped unload the VerTec system.
In addition to the VerTec system, we used two of Campus Sound’s QSC K12’s as front fills. The DJ stage used some Mackie towers and our new JBL PRX818XLF subwoofers.
Other than me forgetting to save the front-fill mixes in one of the band’s scenes, this system worked amazingly.
Monitors
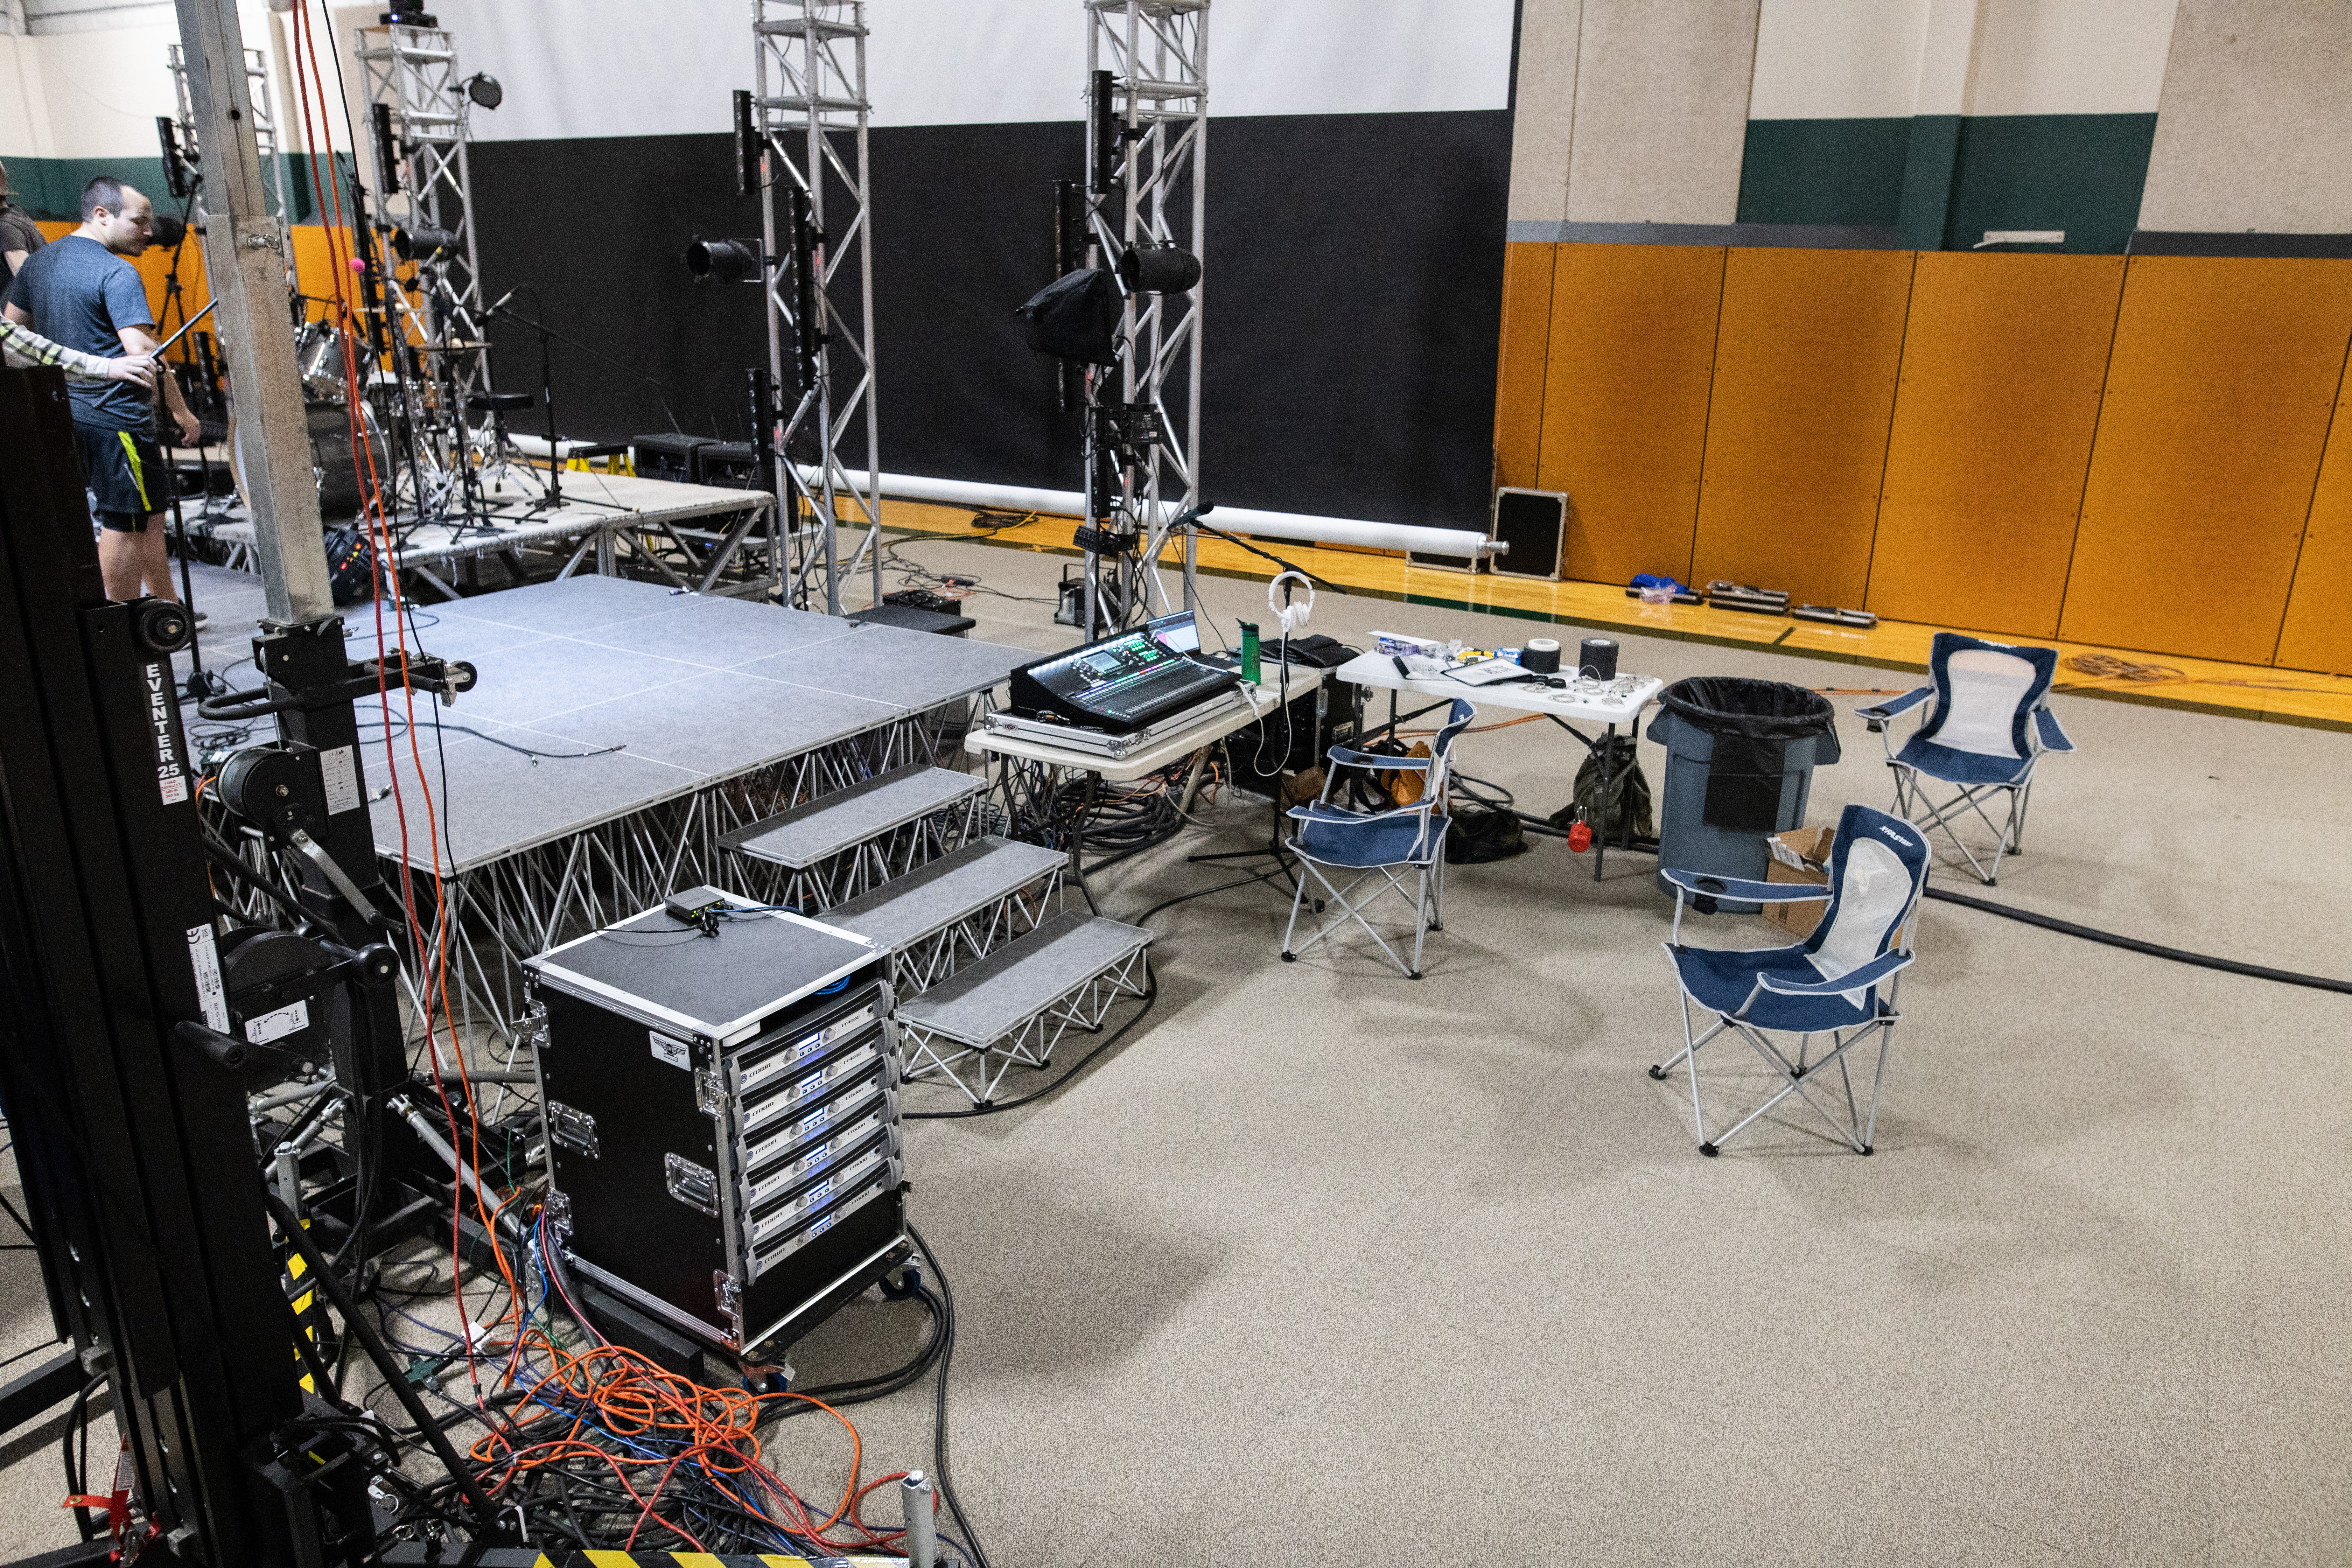
Monitors were run on an Allen & Heath SQ-7 with a set of eight Shure PSM300 wireless in-ears. Between bands, the monitor crew sanitized the in-ears so the muscians that didn’t have their own in-ears could share with the other musicians. We ended up running these all in mono, mainly due to the number of busses available in the board.
The SQ-7 was connected to the input channels through a plain y-split shared with the M7CL at FOH. We ended up needing to drop some of the drum channels from the monitor board to make room for two audience mics
An advantage to using the SQ-7 was the multi-track recording we gained. When we got the SQ-7, we also got a 500 GB USB SSD for multi-track recording. The SQ-7 limits you to 16 channels when recording directly to a USB drive, but if you connect it to a computer, you can record all 32 tracks. After some fiddling, I got Waves Tracks Live working on a Dell XPS 13, recording to the USB SSD. One band wanted a recording of their original song, and this is how we got them a copy.


